With the welding done now it's my turn to have some 'fun'.
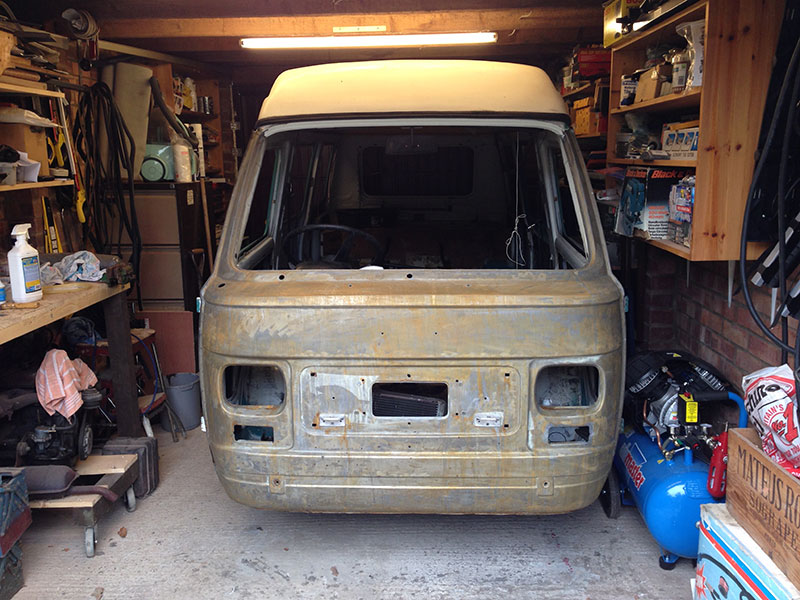
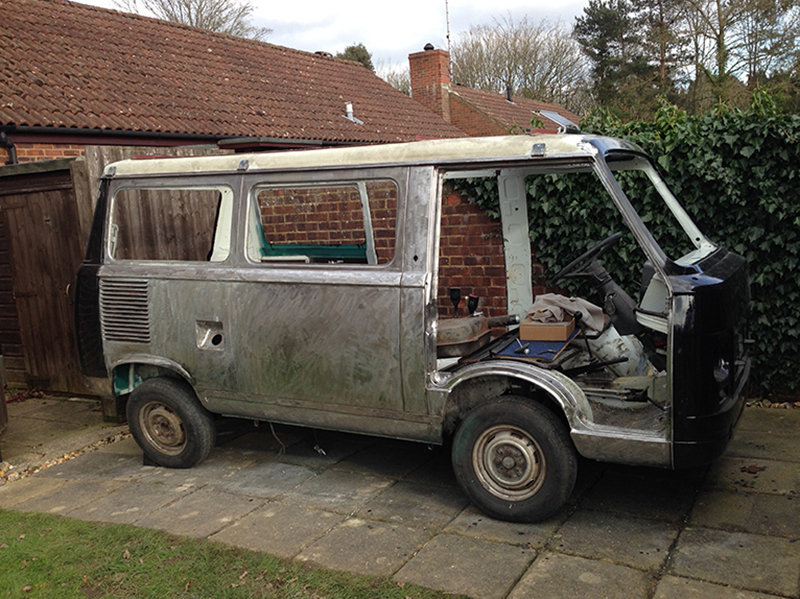
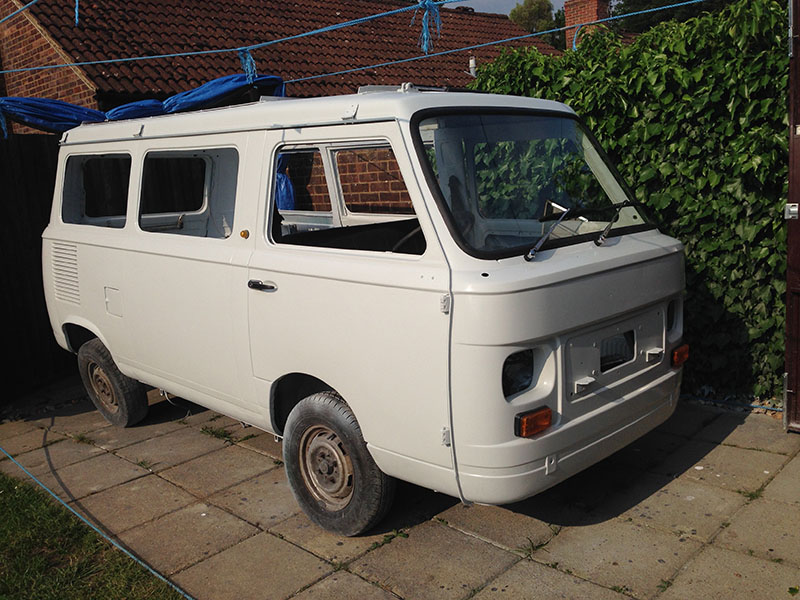
Shortly before Connie was put in storage she was treated to a liberal coat of white hammerite all over to help preserve her (she was outside for a few years to start with). This has certainly helped preserve the tin but needs to come off if we are to have a good paint finish.
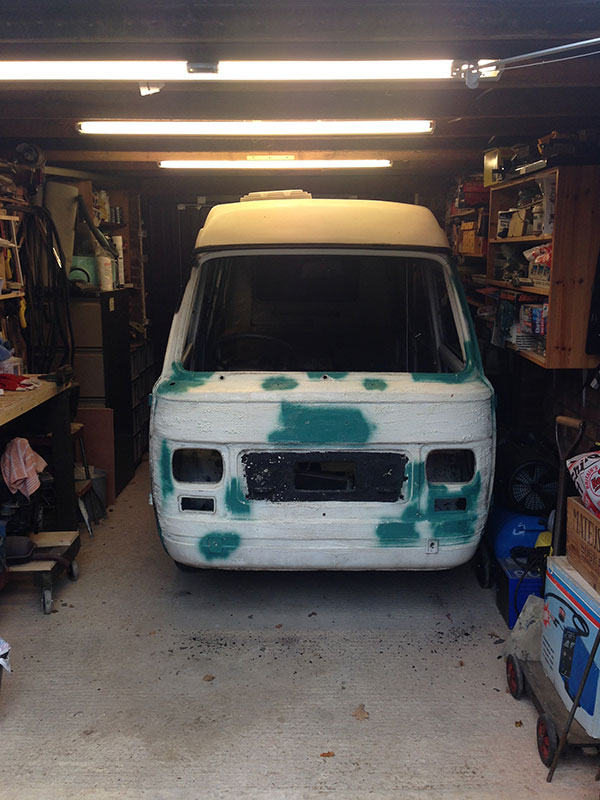
 Having considered the options the only real way is to remove all the paint and take her back to bare metal, a bit excessive maybe but as we have already invested a lot of time and money with the welding it seemed daft not to do this.
After checking around the option chosen was to go the POR15 route, a combination of rust killer and rust preventative paint.
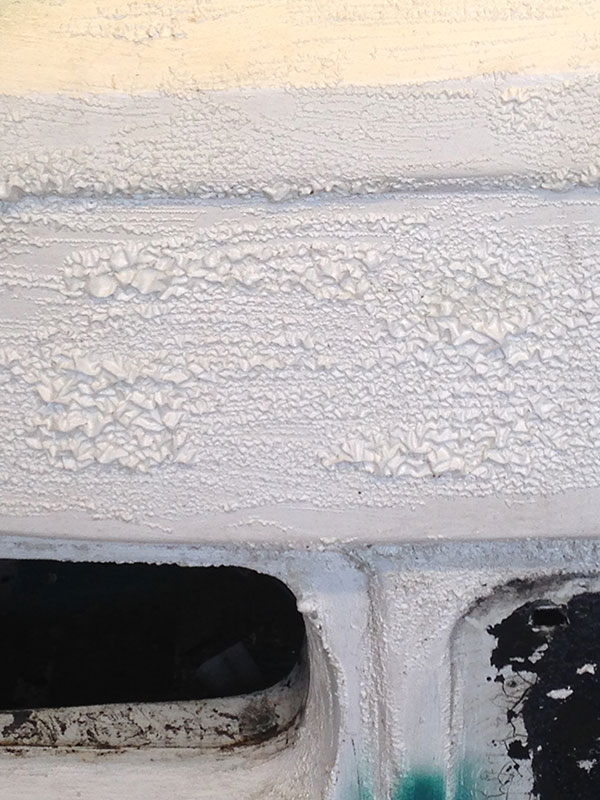
To start the process rather than sand everything down I have opted to use POR Strip Paint Stripper. I'm not sure if this is any quicker or shorter than sanding or indeed any cheaper or more expensive but it does have the key advantage of having no dust.
POR Strip takes a bit of getting used to and is very powerful, you absolutely MUST use protective clothing & gloves.
The trick is to allow it time to do it's job. The instructions vary depending on type of paint trying to remove and how many coats are needed. However, I found the easiest way was to watch for the blistering - after around 10 minutes, if the paint hasn't blistered you need to put more on. The blistering is the key to using this, once blistered the paint peals off in sheets with minimal effort with a scraper.
Tip: If you are working up a sweat you haven't put enough POR Strip on or haven't given it enough time to work.
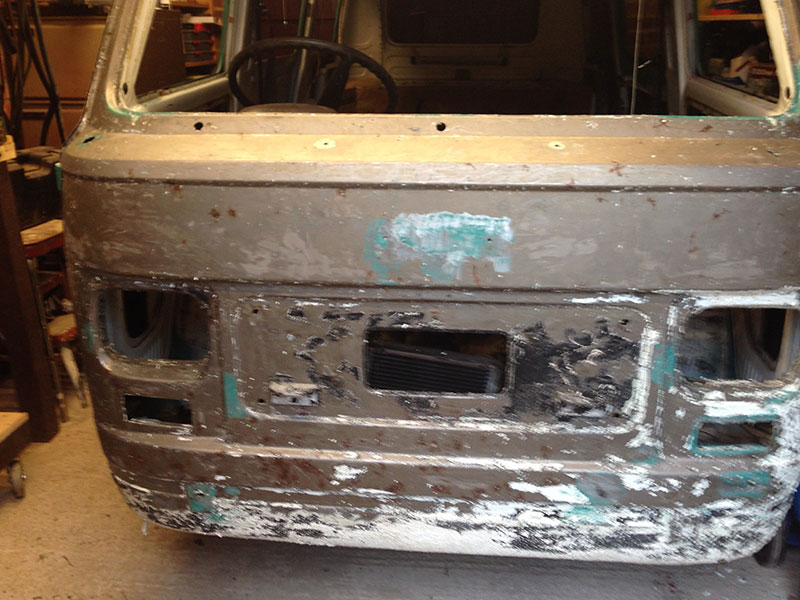
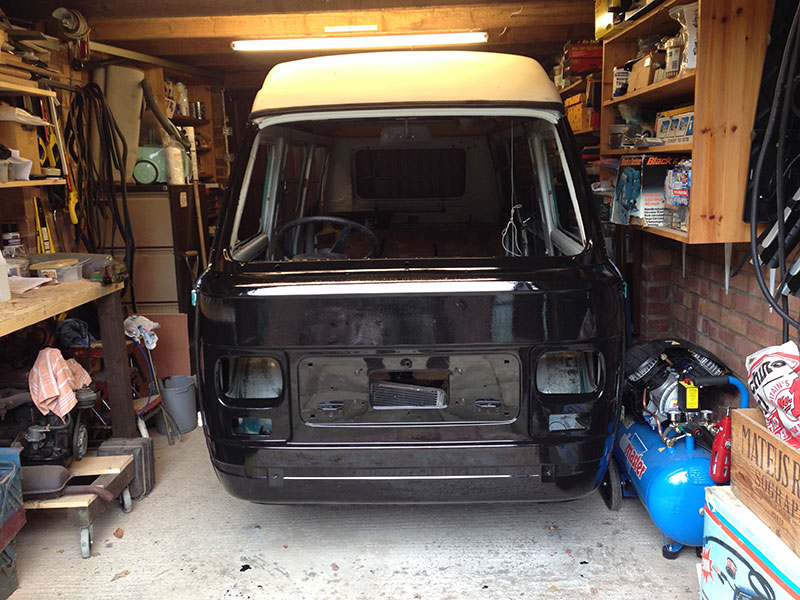
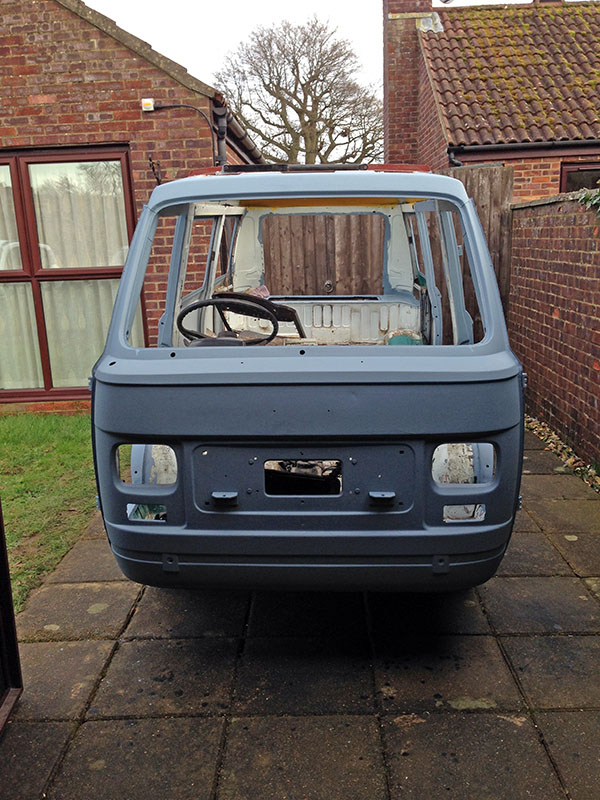
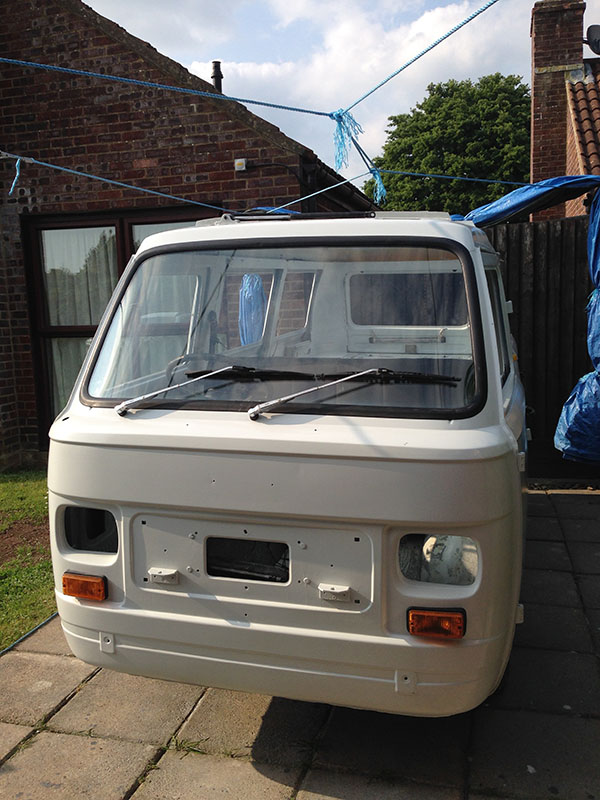
 Three hours later and the front is almost paint free, POR Strip has even removed the stone chip under-seal at the bottom of the panel.
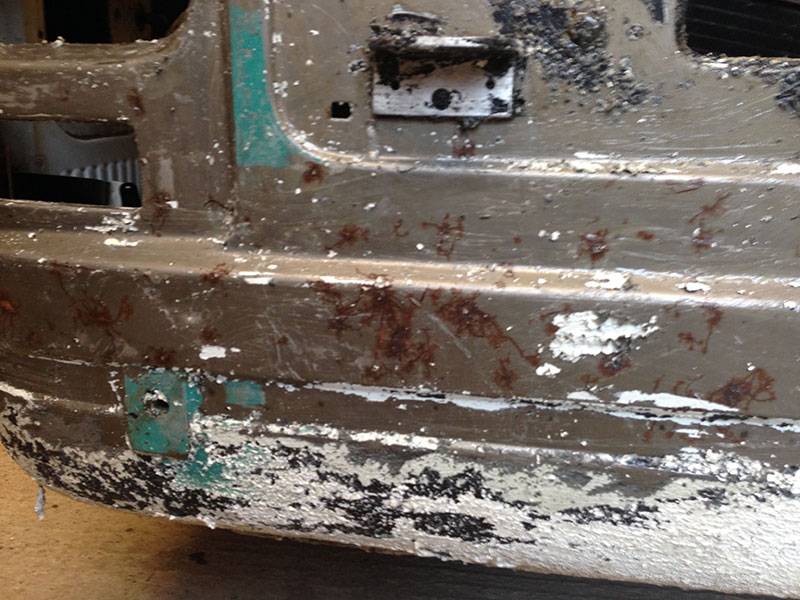
An immediate advantage of using paint stripper instead of sanding is that you can see all the rust spots that were hiding under the paint, probably caused by stone chips or defects in the original paint - Connie is a 1978 Fiat when all said and done.
A final coat of POR strip and the worst is off followed by a wash down with hot clean water. A final once over with a wire disk to remove any final awkward bits and the hard work is done. A once over with POR Marine Clean (degreaser) and then a coat of POR Prep & Ready and wash off. This leaves a rust bloom all over which looks odd as there is now more rust than before.
 However, checking the POR website this is correct - POR stands for Paint Over Rust. It seals it away from any moisture getting at it and without damp rust can't start or spread. Prep & Ready etches the surface to provide a key for the POR15 and a rust bloom all helps.
Here is the result after one coat. You can spray it on but the general rule is to hand paint it. This leaves a very smooth surface with zero brush marks. It looked really good until the wind got up and blew dust all over the still tacky paint. You do need at least two coats but by all accounts this stuff is as hard as it comes and will take some effort to sand smooth. Once I've worked around the van I'll sand down the rough finish and then add a second coat - after I've vacuumed the garage first.
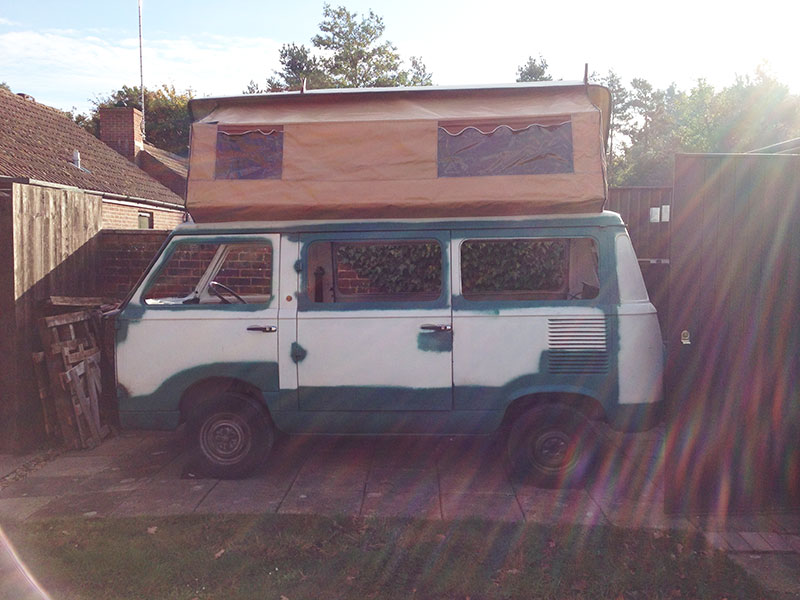
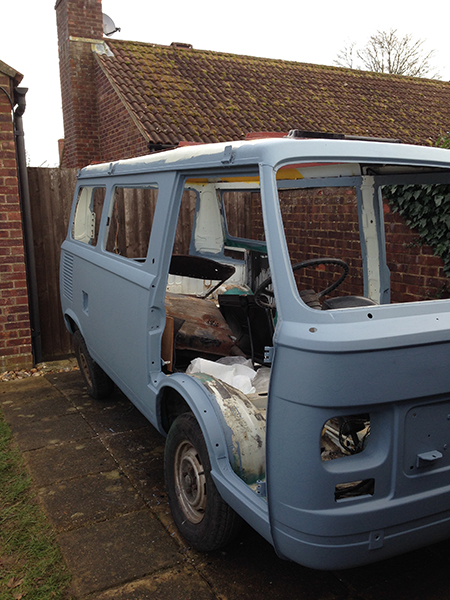
 For the final respray the roof will be coming off, this will also allow for the drivers side gutter to be repaired/replaced.
Before the fibreglass tub can come off the rag top needs to be removed, this is a surprisingly easy one person job. The only tricky bit is disconnecting each of the supporting roof struts and threading the canvas through - my head made a good temporary support while doing this.
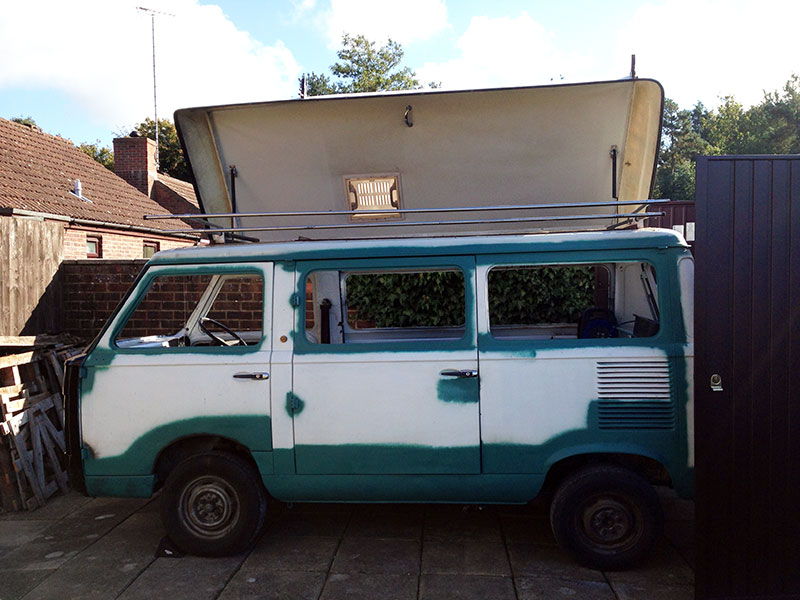
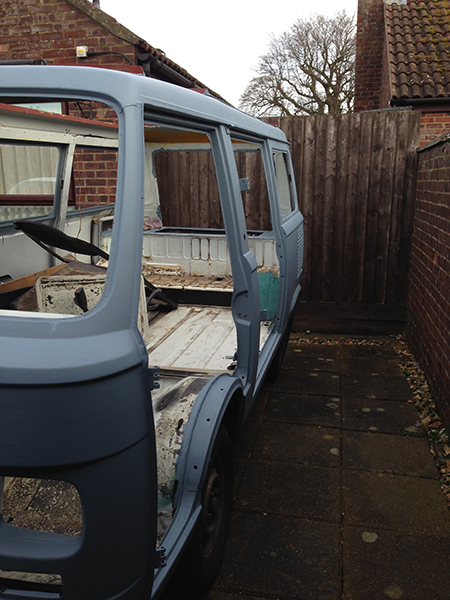
With the canvas off there is a clear run at three of the gutters - strip down and rust proof.
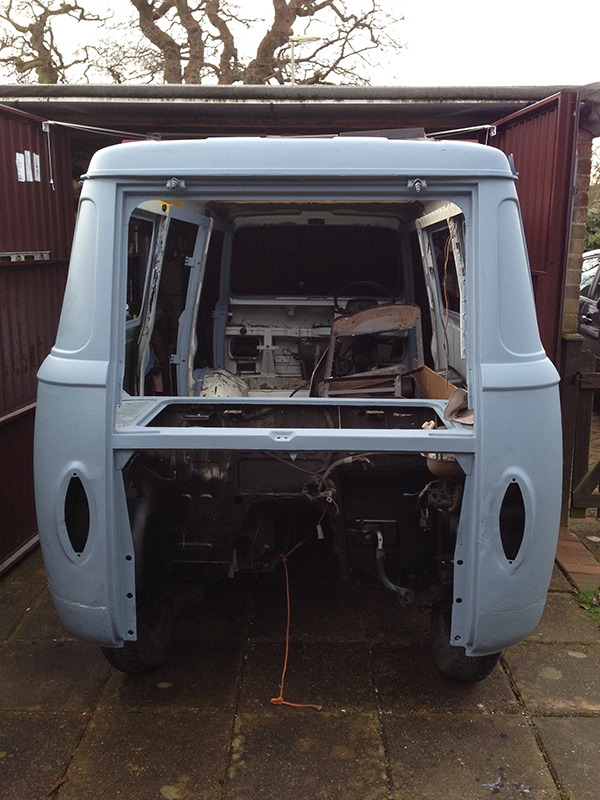
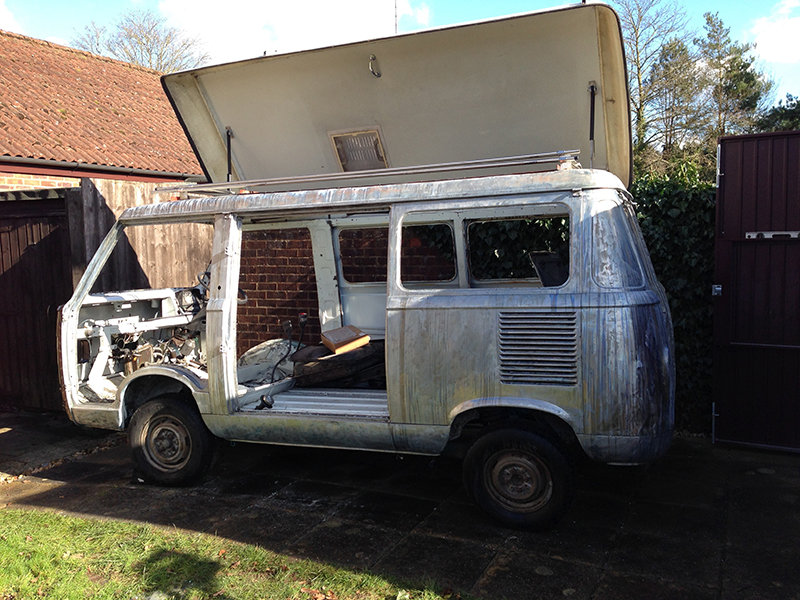 All external paint stripped off and fibreglass roof removed (two person job - would have been easier if we had been about 6" taller).
Nearside photo shows result of POR Prep & Ready applied after using Marine Clean. Note: Marine Clean does a good job of stripping skin, very painful (my gloves leaked).
Stripping the complete van to bare metal at first seemed a bit excessive but justified once the hidden rust 'spiders' were revealed. Little point going to all this effort to have existing rust come through the paint work a few months after Connie has been resprayed. 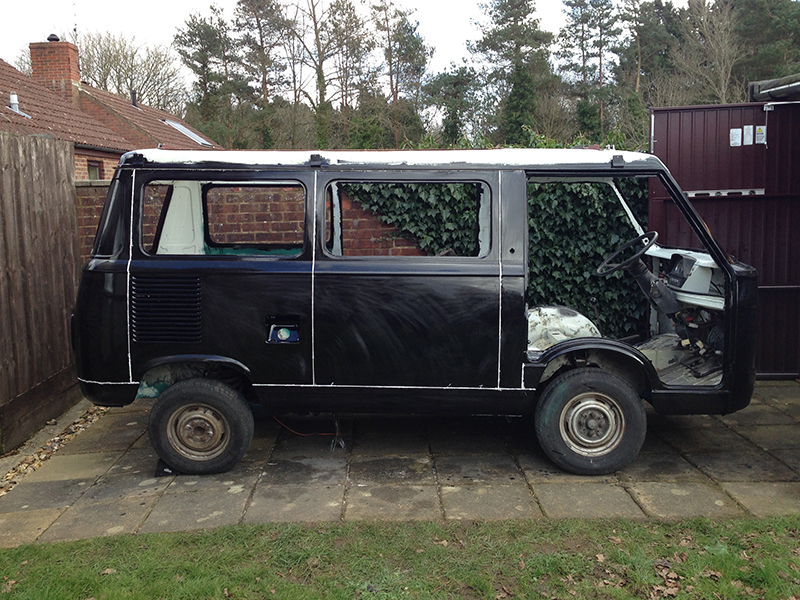
The white lines are seam sealer, all the original sealer was removed prior to applying the POR15 to make sure that it got into the nooks and crannies.
New seam sealer has been applied to all panel join lines and under the gutter line to make sure water can't seep underneath.
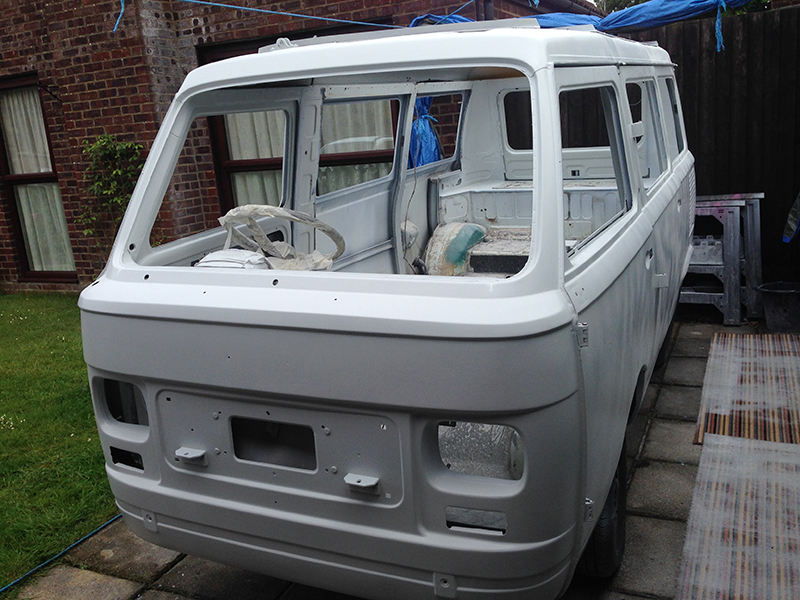
First coat of POR Tie Coat Primer added, this is a high build primer that helps cover the small imperfections. This stuff settles in the can and needs a good mix (at least 10 minutes, in my case) before you can use it.
Unfortunately the temperature dropped during painting and made the paint very thick. Fortunately, the Tie Coat primer is designed for easy sanding so the few runs should sand out easily. As can be seen in the photo's there are a few dents to fill and then the shell will be ready for another couple of coats of primer and a final sanding ready for the top coat(s).
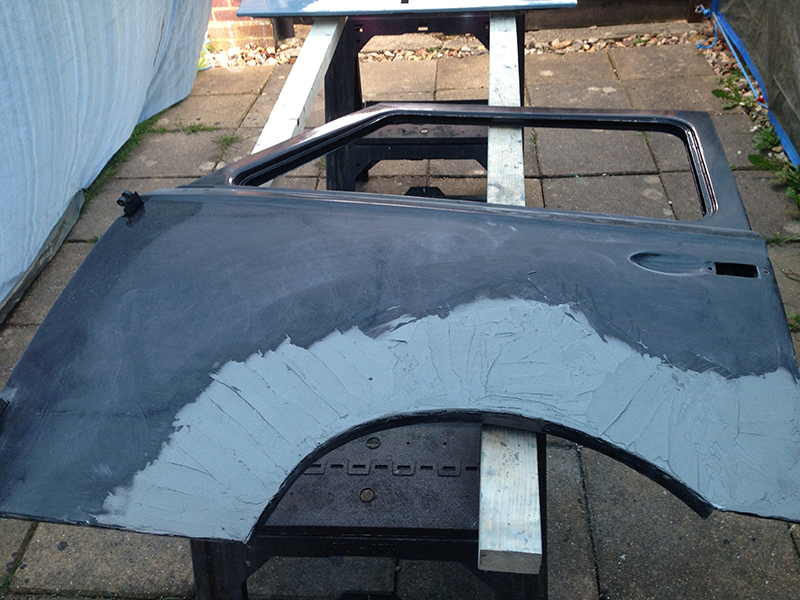
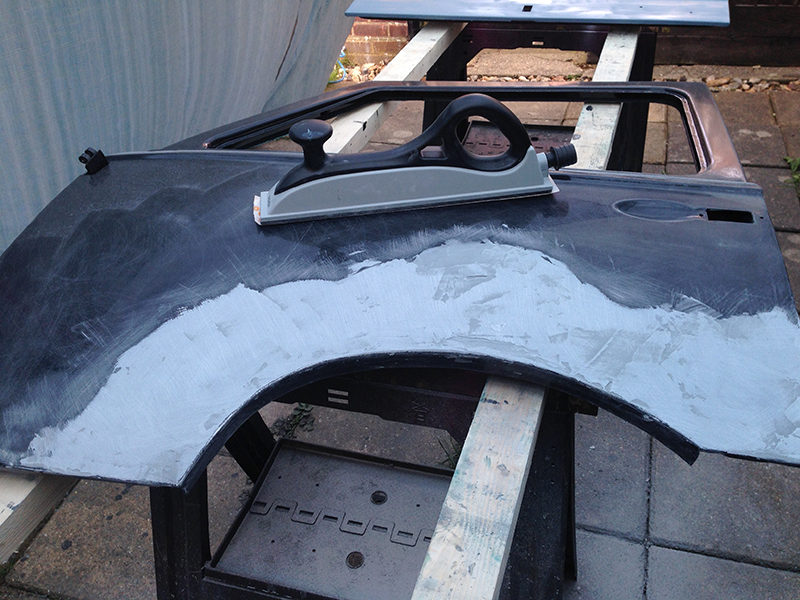
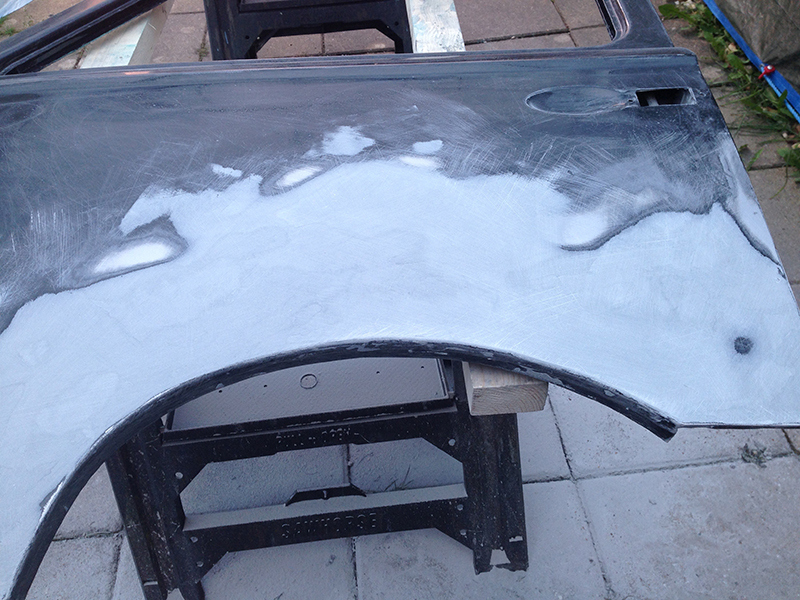
 Weld joins and general dents filled with Dinitrol 6030 metalised body filler. This is the first time that I have used this and it turned out to be an excellent choice, much easier to sand down than the usual products that you can buy off the shelf on the high street and gave a far superior finish. Dinitrol is also non-porous and will help prevent moisture getting through to the metal.
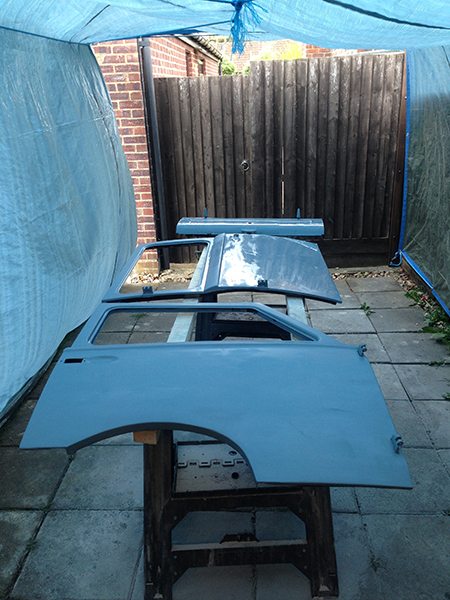
Two coats of POR15 Tie Coat primer and loads of sanding later all the panels are ready for the final colour.
 Colour choice was simple, original Fiat Bianco 233 but what paint to use? After much research I opted to use the old faithful cellulose, I've sprayed this in the past and for the home DIY'er (without a spray shop and the risk of the odd bug getting stuck to the wet paint) this is the easiest to work with - flash time is around 10 to 15 minutes. Paint was supplied by Jawel Paints, excellent quality and easy to use and pretty much next day delivery - a great benefit as I went through more primer than I originally expected.
 One nasty that caught me out (for anyone thinking of using POR15), if there are any gaps in the Tie Coat primer the cellulose primer will find the out. POR15 and cellulose do not like each other and caused horrible blistering on the drivers and side doors - it took me two days to remove the blistering and get back to where I had been before
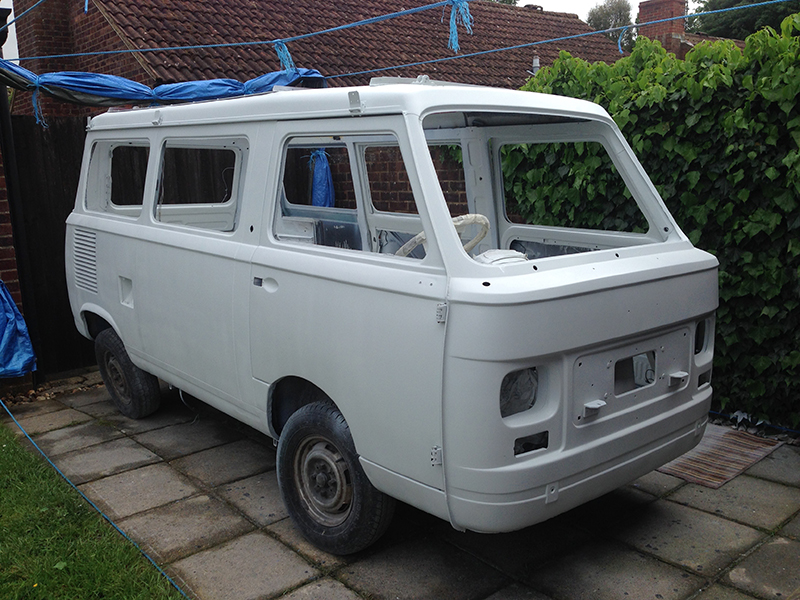
As the POR15 Tie Coat primer is a light grey I could have simply sprayed the top coat of this but decided to use white primer to help build up the depth of colour. The photo above is after the first flash coat. This helped show up any dints etc. not obvious with the grey primer - you can see some filler on the rear quarter panel. Five coats of white cellulose primer later (wet sanded between each coat) - almost 10 litres of paint - the finish was good and ready for the top coat.
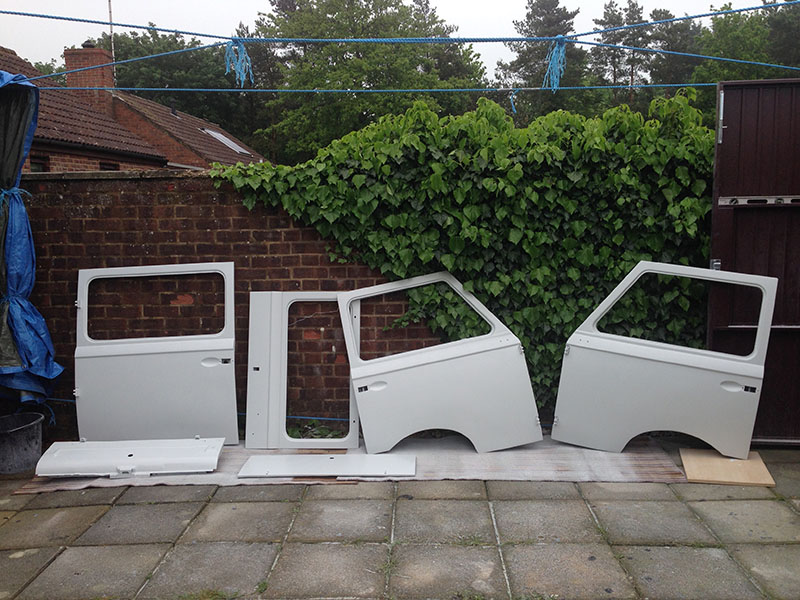
The shell and all the panels received two coats of gloss before the doors and panels were refitted to make sure all the awkward to reach places were given a good coating.
As you can see from the photos the finish is quite matt at the moment, a bit of overspray here and there. There are also a few paint chip repairs needed to the hinges - the excess paint required a bit of brute force to get the doors back on. Next step is to wet sand all over and then two more top coats (wet sanding after each) and then two coats of lacquer - this will help preserve the paint finish and (in theory) allow the cellulose paint to perform up to modern day paint standards. Once the paint has fully hardened (about three months) a final wet sand (ultra fine grade) and then a couple of coast of high quality wax will finish the paint work.
Paint finish is less super shiny at the moment more of a lustre finish - I was deliberately gentle with the finishing compound. Once the paint has had chance to harded off I'll use a slightly corser grade compound and then finer grade to really bring out the shine. The final wax coating in around three months time will really add to the gloss and prepare for winter storage.
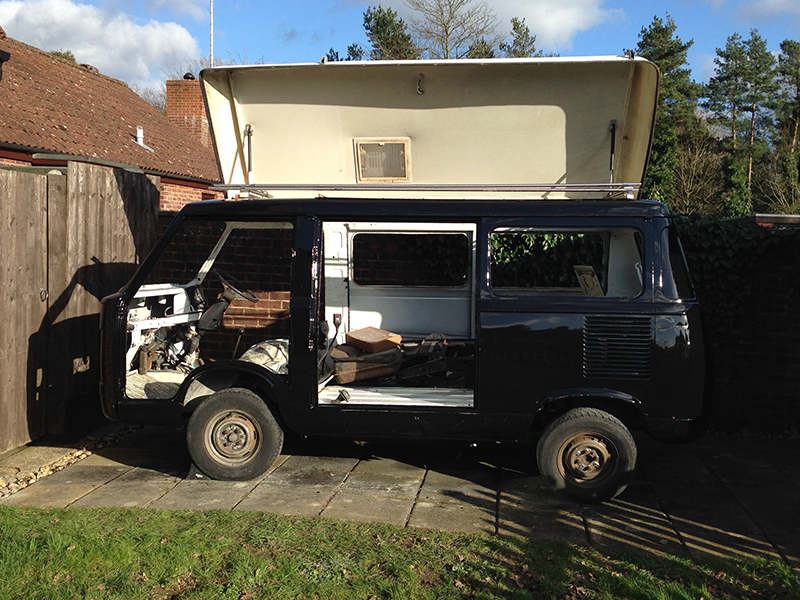
The rebuild has also started, I now understand why most resprays are done with the windows in... horrible job to put the windscreen back in. A two person job and requires a bit of force to push the windscreen in against the new rubber seal. For anyone else considering the same job, make sure you just very strong cord to help re-position the seal. It is a real pain when the cord breaks halfway through
Body and paintwork...
- All external (and some internal) panels stripped to bare metal (POR Strip and sanding discs)
- POR Marine cleaned
- POR Prep & Ready
- 2 Coats POR15 rust proofing
- Dints and weld joints filled and sanded smooth
- 2 Coats POR15 Tie Coat (high build) primer (wet sanded between coats)
- 5 Coats of white cellulose (high build) primer (wet sanded between coats)
- 2 Coats of Fiat 233 Bianco white gloss colour
- Wet sand (1600 grade
- 2 Coats of Fiat 233 Bianco white gloss colour (slightly higher thinnner to paint ratio approX 60/40)
- 2 Coats of acrylic lacquer
- Wet sand (2400 grade) and final rub down with finishing compound
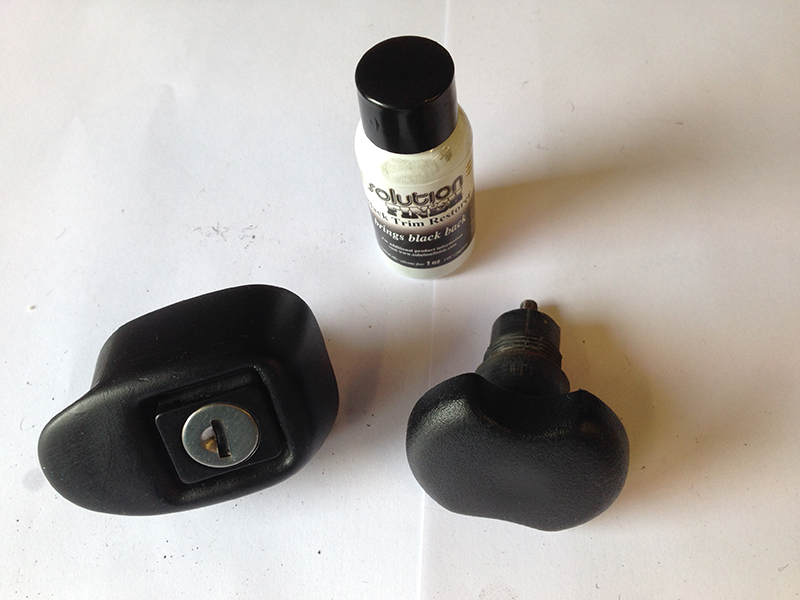
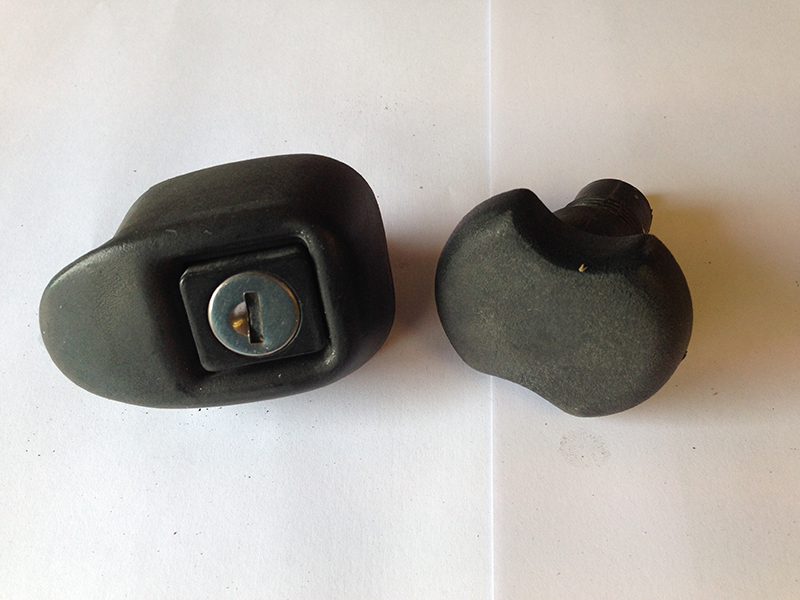 As parts are reassembled they are being subjected to a clean and general tidy up. For the black plastic parts I'm trying out solution finish (available from Frost). As you can see from the photos the initial results are pretty good, hopefully the durability will be as good as the product manufacturers claim.