 After almost 12 months off the reassembly has begun. There is no great logic to the reassembly, basically I'm putting bits back as I find them scattered around the garage, shed and loft. This is turning out to be much quicker than going on a search and find mission trying to find various parts.
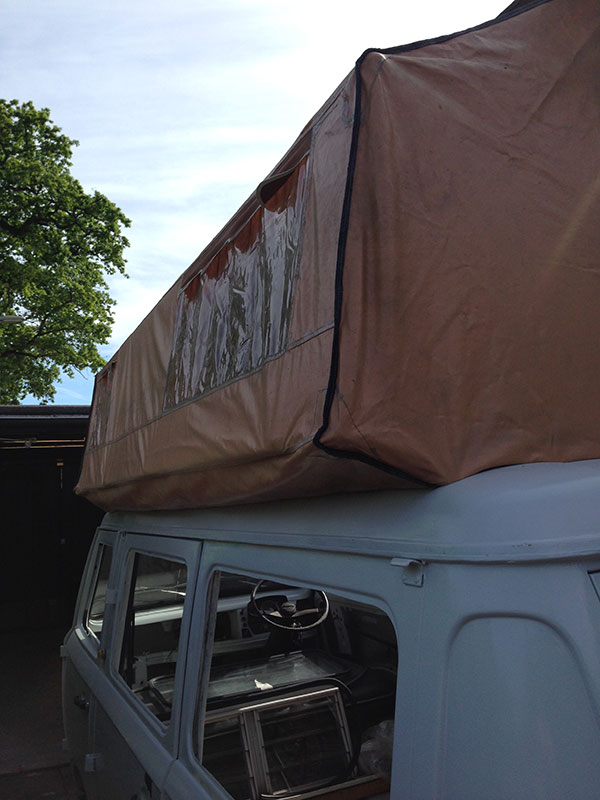
The canopy appears to have shrunk while its been off the van and was quite a tight stretch to get it to fit again. A job for the future will be to replace the canopy with modern nylon canvas to reduce the bulk and save on weight. But for now the focus is getting Connie up and running again with as few diversions as possible.
Following the theme of weight saving, I removed the top bunks (hammocks) not long after we bought Connie 16 years ago. Luckily I had some reference photos of the hammocks in position when we first bought Connie and amazingly still had all the fittings. On the downside our 10 year old daughter is probably too tall to fit in them, so I may take them back out to save weight. They are quite heavy and made a noticeable difference to the centre of gravity and improved the handling significantly.
One of the fiddly jobs that I'm happy to get out of the way is replacing the headlights. The reflectors are badly corroded, an instant MOT failure. Left-hand drive lamps are available but right-hand dive lamps appear to be impossible to find.
I've found a couple of places that offer re-silvering services but these require the lamps to be taken apart which, based on how corroded the lamps were I wasn't sure they would hold up to the task. Plus if you are going to remove the lenses you may as well swap them over with the reflectors from a set of left-hand drive lamps.
After trawling the internet I've found a workable solution... Jeep Cherokee lamps! (from Powerful UK)
Even better is that the replacement lamps are the new Crystal type using H4 bulbs which claim to provide 25% more light than the standard units. The new lamps are slightly bigger than the standard Fiat units and don't use the ball and socket connectors and required a bit of fettling to get to fit.
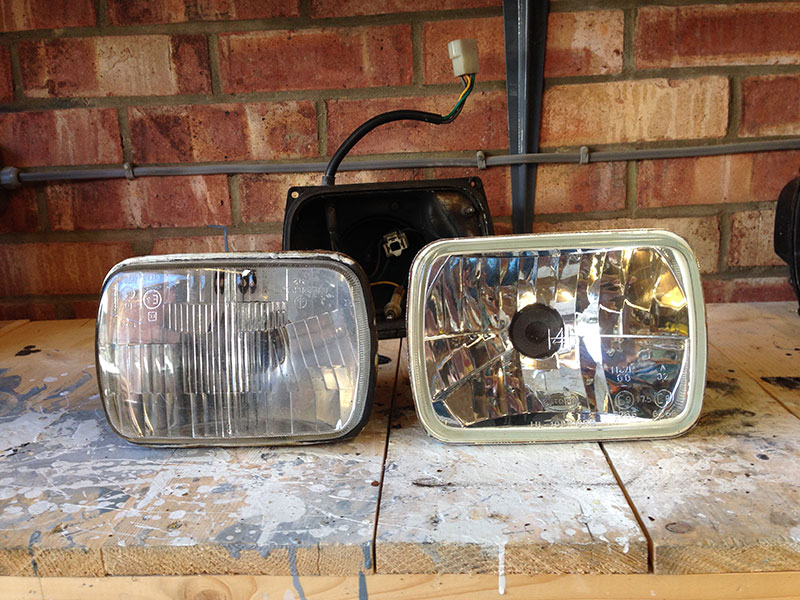
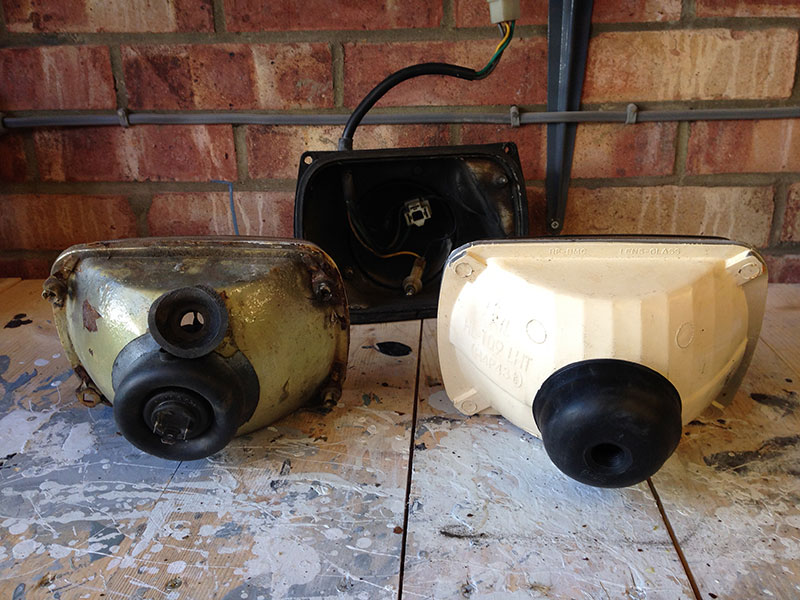
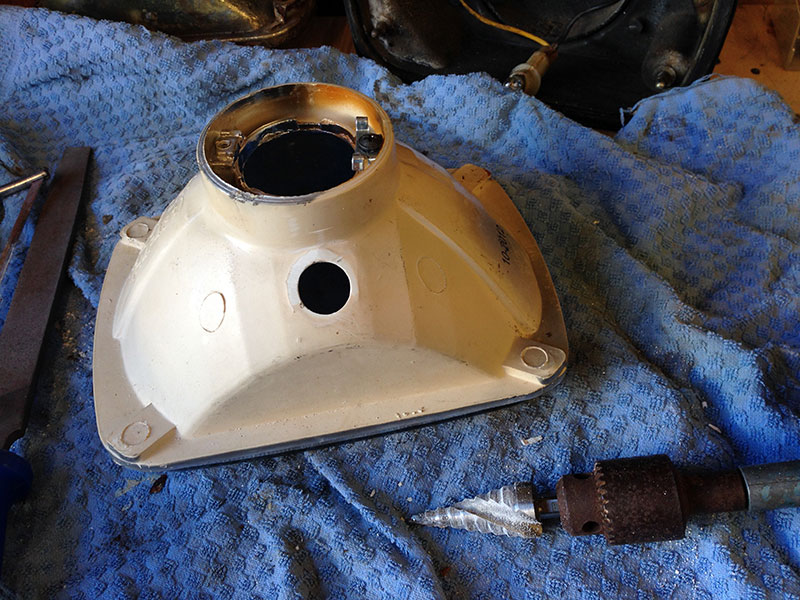
The new lights need a hole drilling in them to take the side light bulb. You can either drill a 12mm hole and use the silicone provided to hold the sidelight build in place. Or as I've done here, drill an 18mm hole in order to take the rubber grommet from the old lights - much cleaner for when you need to change the build in the future. Note: the back of the lamp has a raised bit at the top of the hole, this needs to be filed down to enable the rubber grommet to fit properly.
The new lights are almost the same size and shape as the originals but not a straight swap. The flange surrounding the lens needs to be ground down flush to the glass. Not a difficult job as the back is made of plastic but you need to take a bit of time and care to avoid damaging the glass or seal. I've used some black PVC electrical tape to tidy up the finish and add a bit more protection and to reduce the chances of water ingress.
The new lights don't come with any fittings so these need to be taking off the old lamps. These will break due to old and brittle plastic but should keep the socket in tact - the important bit. I did try to make brackets to attach the connectors to but in the end decided to glue the direct to the lamps. As luck would have it I had a few 10mm spacers to hand (no idea what they are off) which made perfect homes for the lamp connectors. These were lined up with the adjustment screws and glued into place with Gorilla Glue.
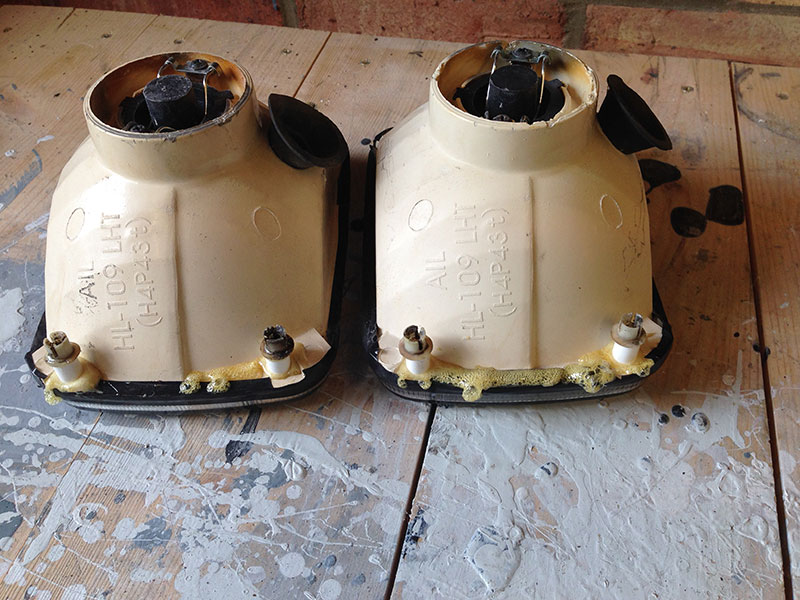
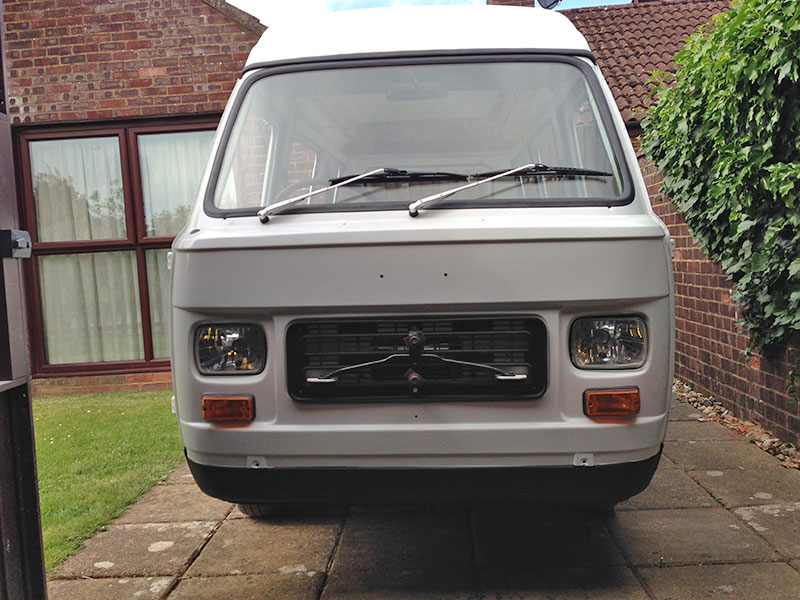 The finished result with Osram H4 60/55w Night Breaker bulbs fitted.
The new lamps protrude slightly further than the original lamps and are quite tight against the bulkhead, so may make beam adjustment a bit tight. If needed I'll make up a couple of spacers to recess them a little - I've about 20mm of play on the threads that attach the lamp casings to the van.
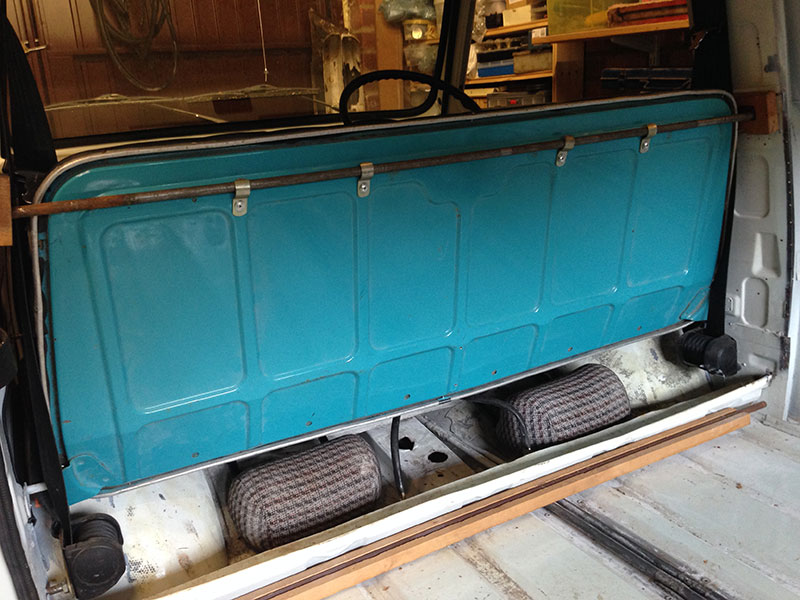 The front seat has come from a 900T that was made into an icecream kiosk inside a pizza resturant at Bluewater, you can see it here (just to the right).
The eventual idea is that the back of the seat will flip round to form the back of the inside seat/headboard for the bed.
This will allow the rear seat to be brought forward to line up with the pillars between the side windows. These will be strengthened to take rear 3-point seat belts. With a bit of careful planning there should also be just enough space behind the rear seats to stand up while at the cooker/sink (and safely put the dog while travelling).
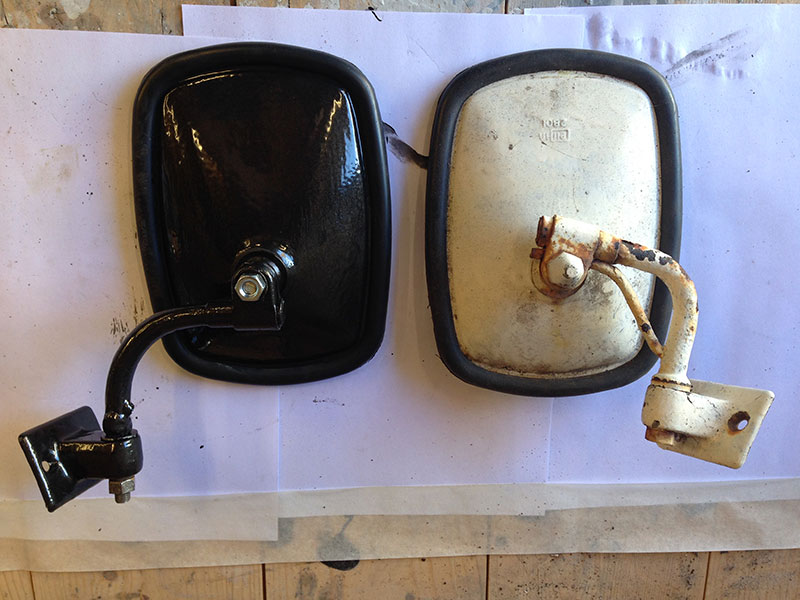
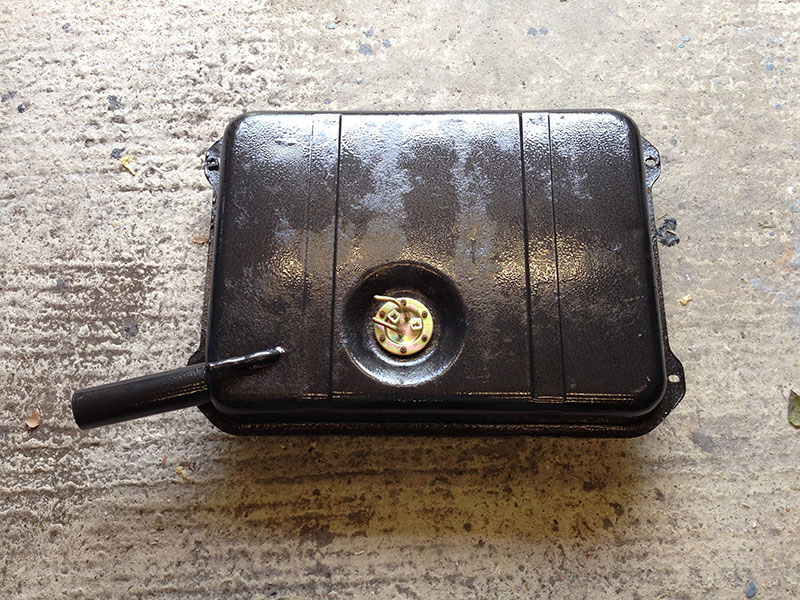 Cleaned up and painted door mirrors and petrol tank, not to everybodys taste but I quite like the old-fashioned Hammerite finish.
I've also fitted a new fuel sensor while I was at it. The original one was working previously but as the tank has been dry for over ten years it made sense to put a new one in (rather than having to take the tank out again later).
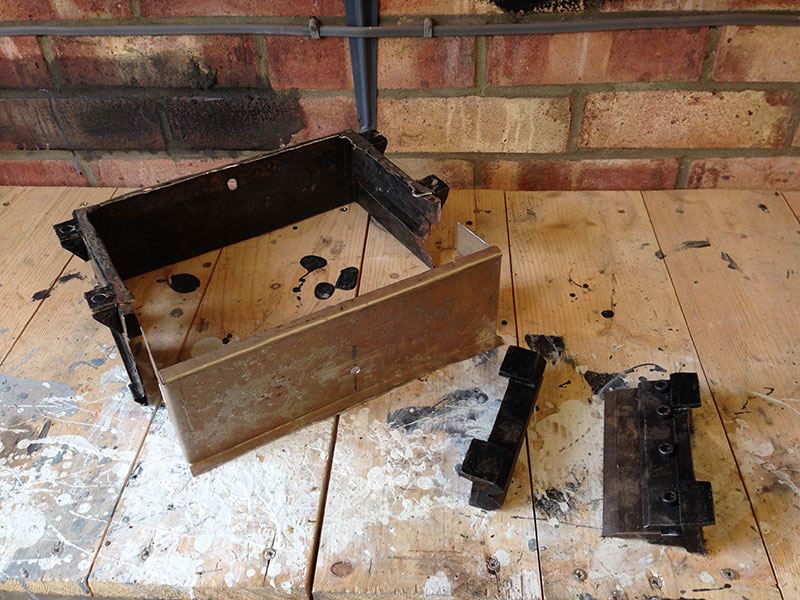
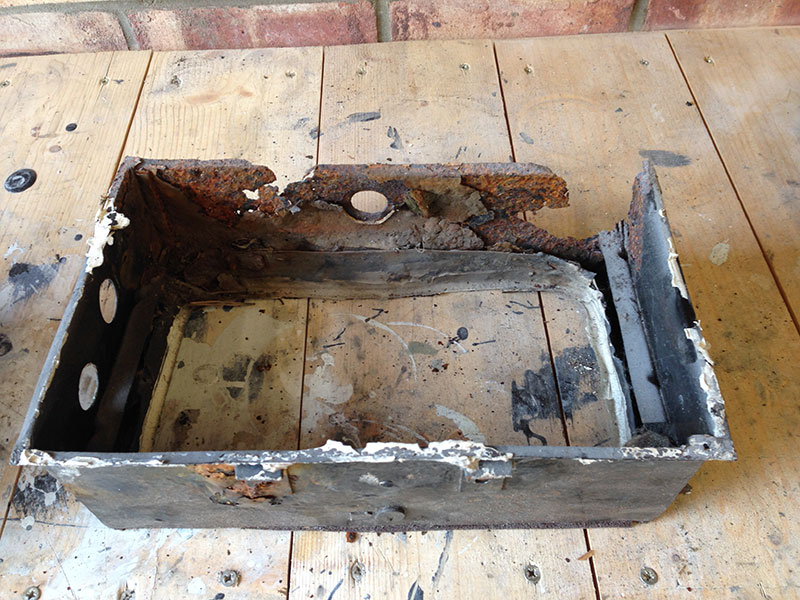 The heater box at first appeared to be in a pretty dire state but turned out to be just the bottom section that needed replacing.
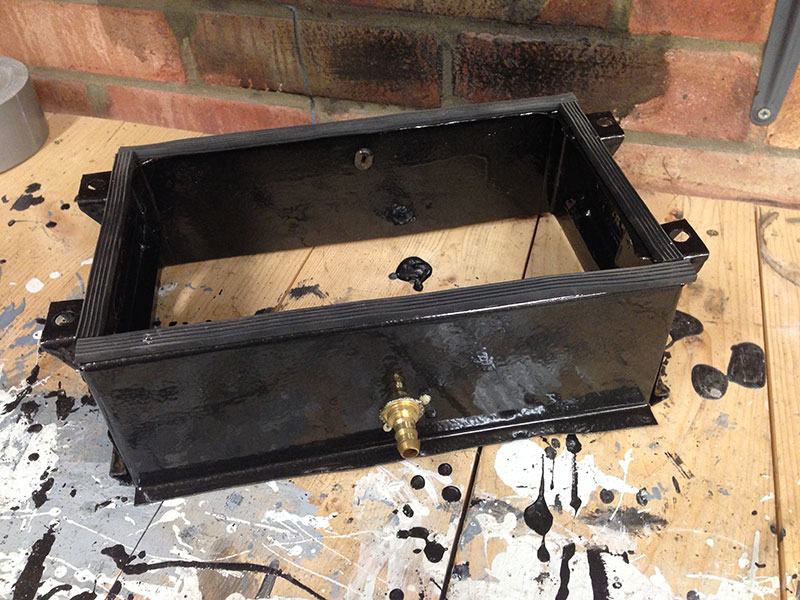
The replacement tin was bent using a 5 inch vice mounted former, gradually working along the length until I had the correct angles (nice and sharp). Once the rusty section was cut out the replacement was simply pop riveted into place and finished off will a couple of coats of Hammerite.
I've glued a brass pipe connector for the drain pipe, this is now a flush fitting - the original drain plug stood proud allowing water to collect in the bottom of the heater housing.
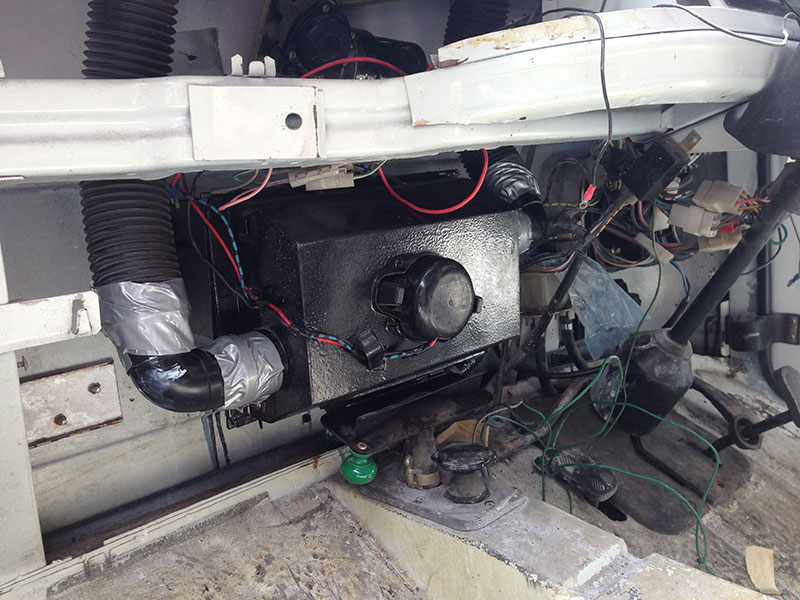
The final image shows the heater back in place. I've used vacuum cleaner hose and gutter pipe for the right angles. (The silver duct tape will be swapped for black in due course.)
