The focus is to get the running gear back in and Connie moving under her own power, there's quite a bit to do. Engine & gearbox back in, rebuild all the brakes, new brake pipes and refit the fuel tank just for starters.
Here's a couple of pic's of the engine & gearbox after they have been sat on my garage floor for 3+ years.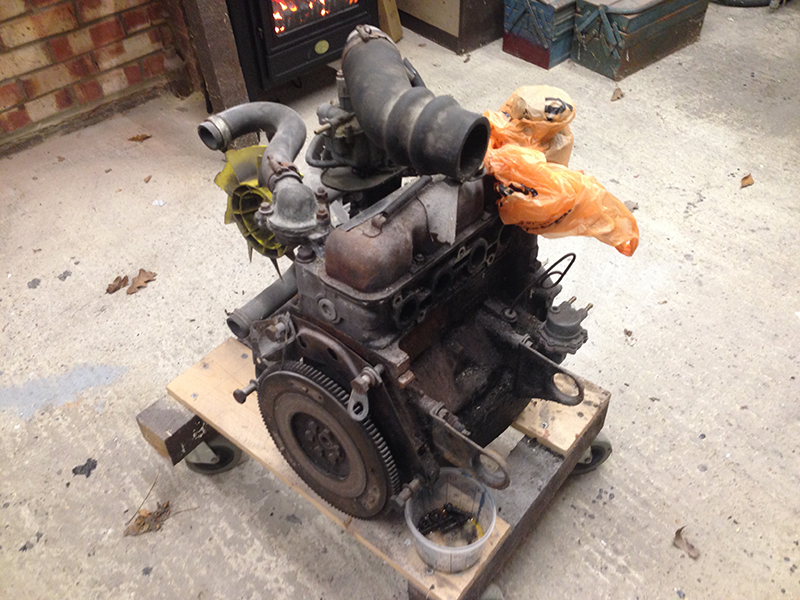
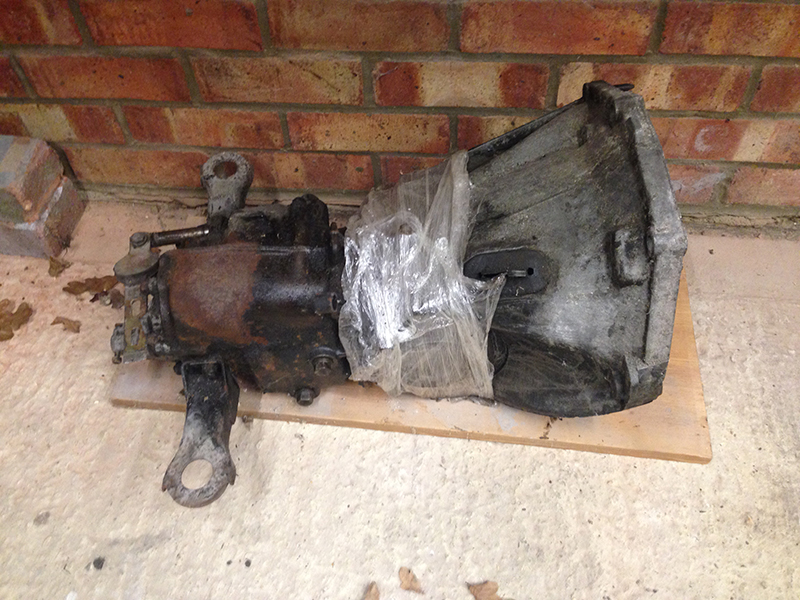
Fortunately both the engine and gearbox turn over by hand so nothing apparently is seized.
I'm working on the basis of they were working before I took them out so they should hopefully still work when I put them back in.
I've been acquiring a number of new parts over the last couple of years so these will be fitted as I go along - with a bit of fettling here and there.
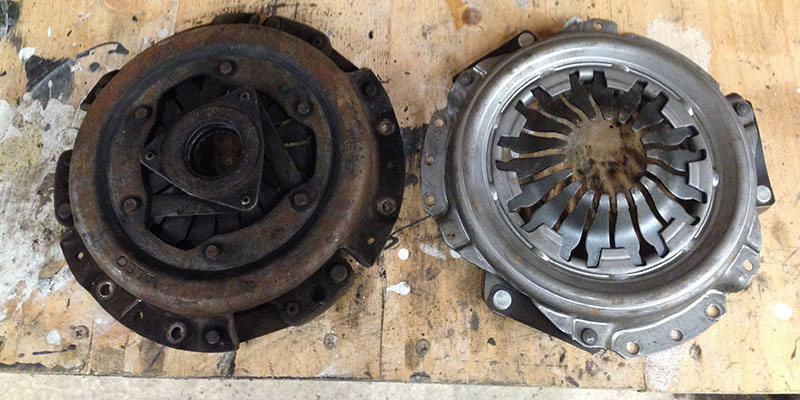
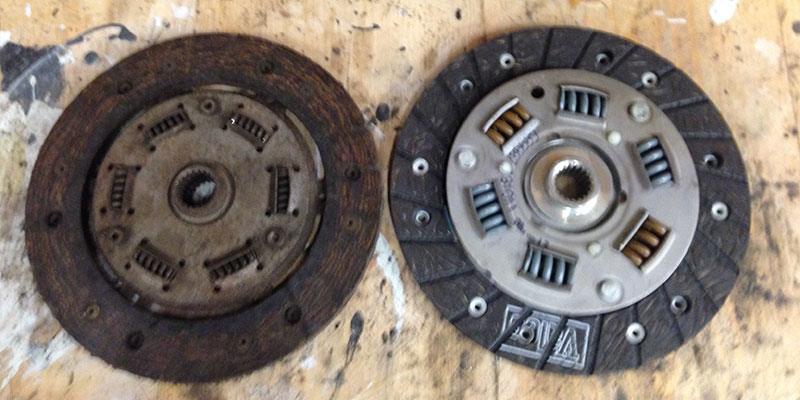
New clutch fitted, as you can see from the photos the original was somewhat tired - the plate was worn down to the rivets and had been slipping very badly before Connie was taken off the road some years ago.
The new clutch is a different design to the original but the sizes all match up so hopefully all should be good.
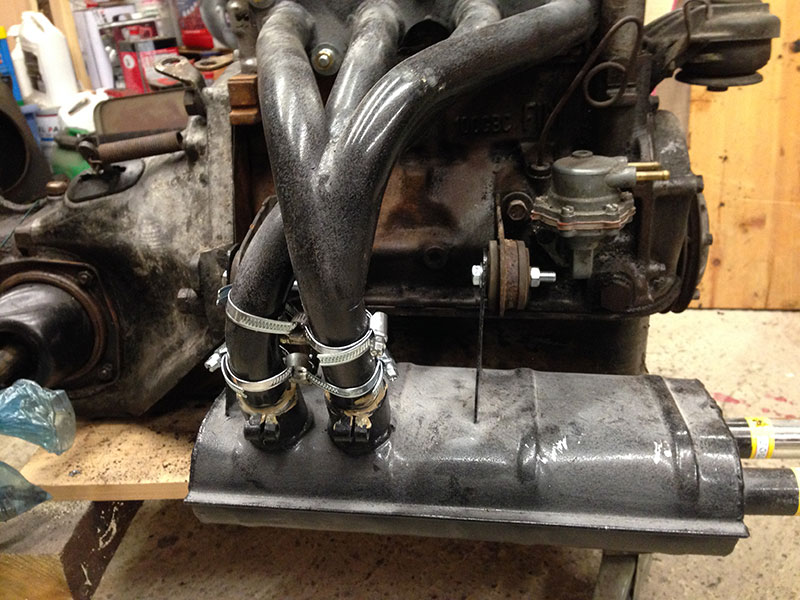
As part of the build I've acquired a number of new parts and upgrades. One of which is an Arbarth 4 branch exhaust which should help with the engine breathing - and add a nicer exhaust note.
The was a little bit of fettling required to get it to fit including, filing the manifold to clear engine the casting and squeezing the downpipes together to allow the exhaust to fit - I used a few linked jubilee clips (see picture) until I could get the exhaust to slide on easily.
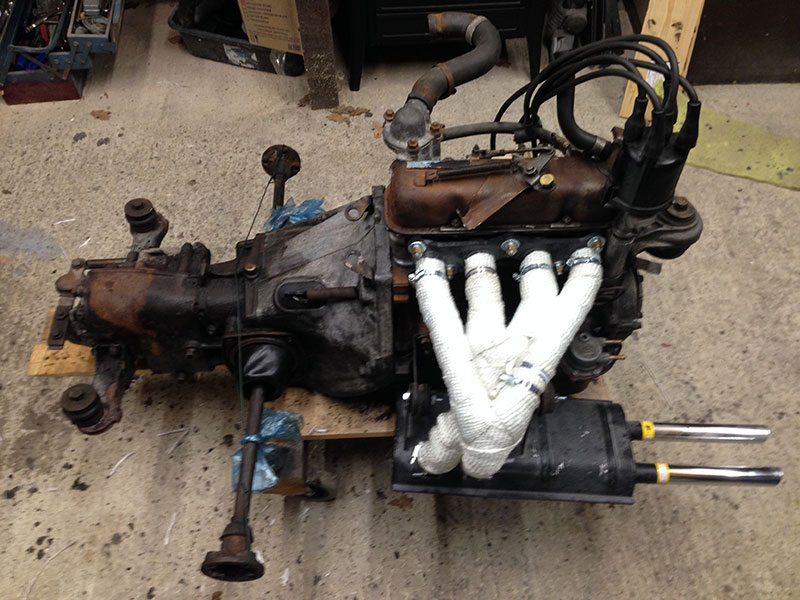
To help keep the engine bay heat down I've wrapped it in exhaust heat tape, quite a fiddly job as there wasn't much clearance.
Engine back in.
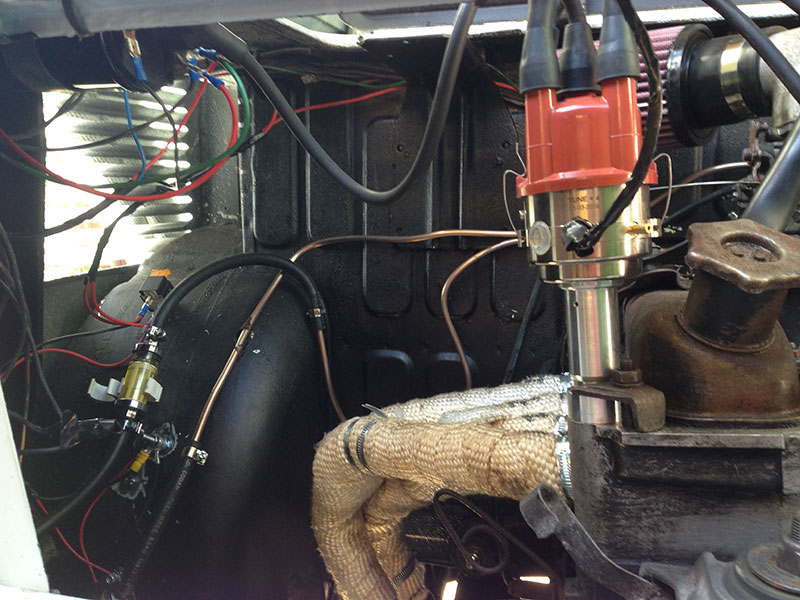
The new electronic ignition has been converted by 123-Ignition Conversions. The original old (and worn out) distributer was stripped of its mechanical bits and fitted with all the new electronics. It comes with bluetooth connectivity providing engine imobilisation (PIN code) and an array of guages for revs, mph (using GPS) and temperature. You can also adjust the ignition advance curve using the App from your phone/iPad. It is surprisingly easy to fit with no more wires required than the standard distributor - not quite a straight swap but not far off.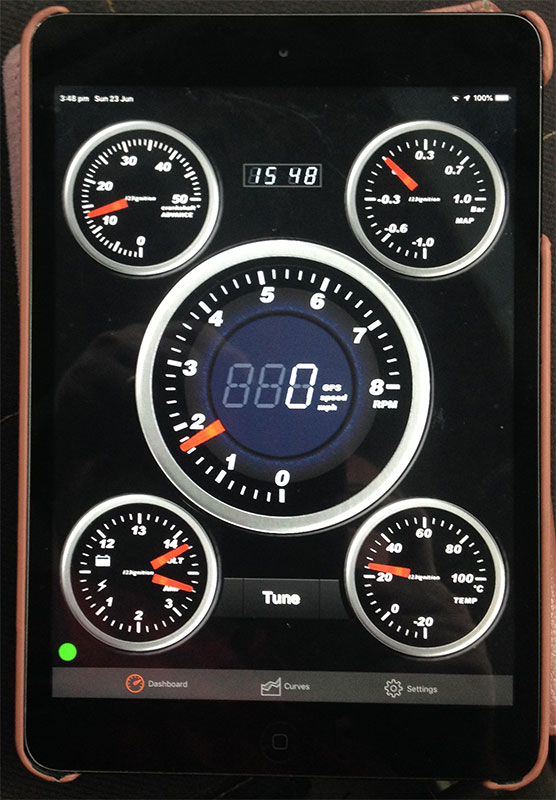
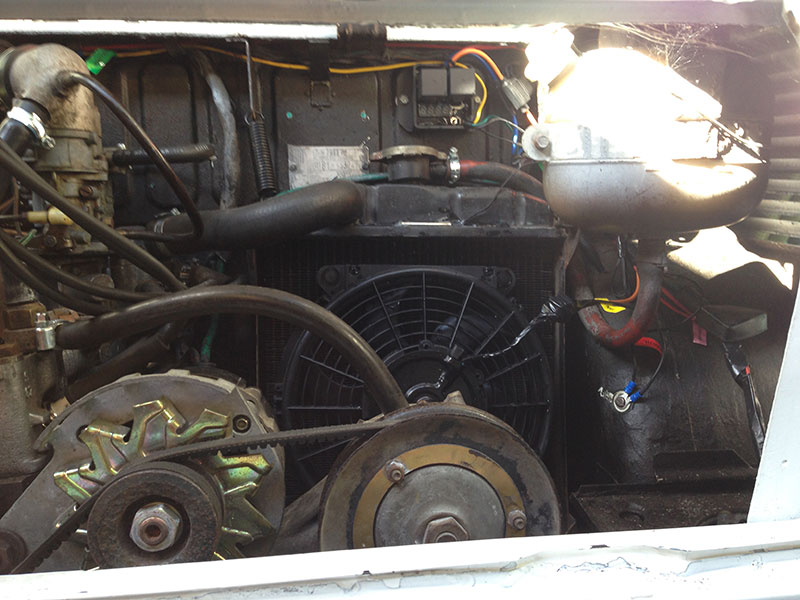
On the nearside rear wheel arch you can see the new fuel filter and plumbing for the electric fuel pump (just out of shot at the bottom). I've tidied up the wiring spagetti since taking this photo.
Also behind the distributor you can see the K&N air filter. With the addition of the four-branch exhaust the old air box didn't fit. Since this photo I've added a pipe so the air intake is near the wheel arch louvres rather than directly over the exhaust.
Along with the electric fuel pump I've also replaced the mechanical fan with ten-inch electric version. A big problem with Connie was overheating when stuck in traffic - I'm hoping that this will fix the probem.
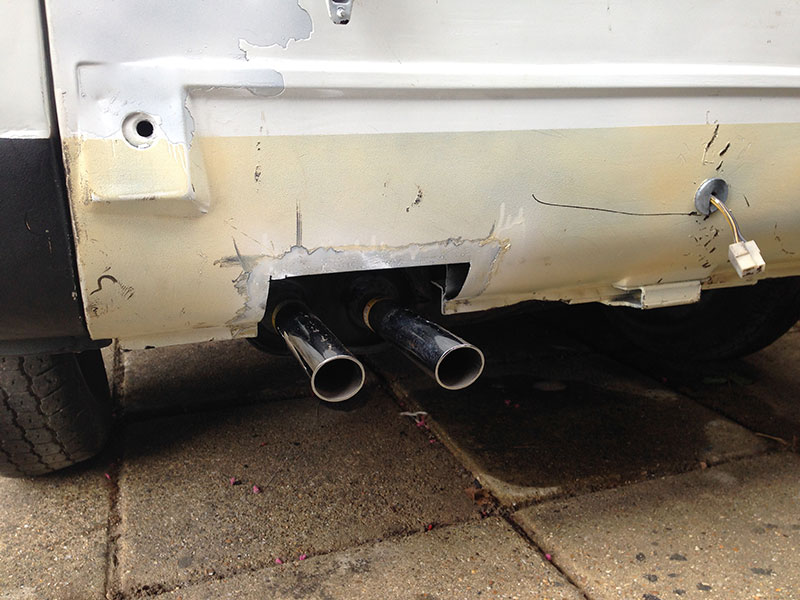
The addition of the new exhaust required a slot cutting in the rear crossmember for it to fit (need to weld in a bit of metal to fill in the hole).
Once I fitted the distributor the right way round (180 degrees out first time), primed the fuel pump and sprayed a squirt of Easy Start in the carb Connie fired up for the first time in over five years - with four of those with the engine sitting on the garage floor. Relief and amazment in equal measure.
The engine quickly gets up to temperature and the electric fan kicks in happily at 85C (standard setting). All the carb settings are as they were when she was last on the road 12+ years ago. Probably running a little rich but tickover is now stable and the twin pipes give a nice burble.
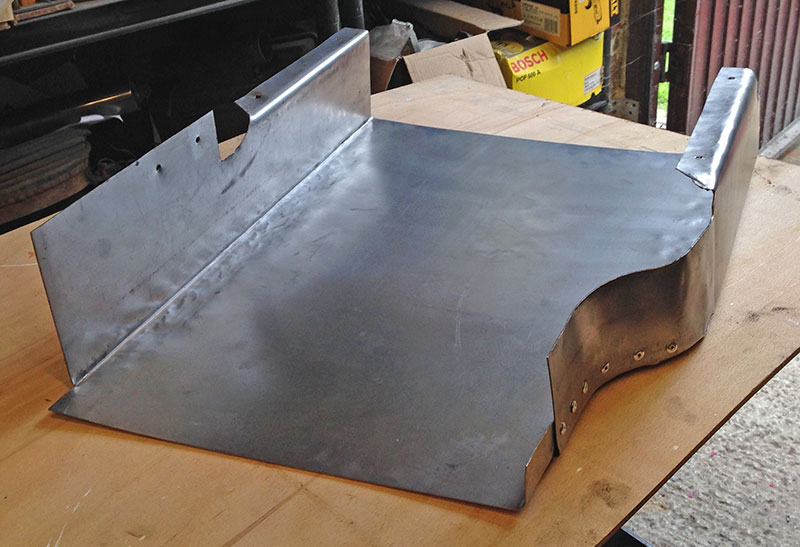
Radiator Under Tray
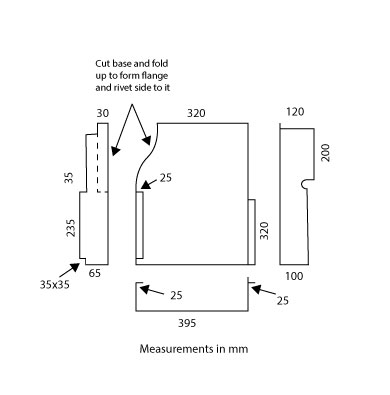 The original layout of the 900T is to simply dump the hot air from the radiator directly underneath. This works well when moving forward but when stuck in traffic the heat tends to find its way back into the engine bay - even with the under trays in place - causing the engine to get very hot and bothered
Along with adding the electric fan I've added some ducting around the radiator outlet to take the hot air beyond the back of the van. The front of the new ducting is left open and should help suck the hot air out when moving forward by creating a low pressure area - using the air-multiplier effect (at least in theory).
It will be a while before Connie is back on the road to test this but while stationary the heat from the radiator if effectively blown beyond the back when the electic fan kicks in.